
Jenkins Declarative Pipeline with Docker
#90 Days of DevOps Challenge - Day 27


Table of contents
Use your Docker Build and Run
docker build - you can use sh 'docker build . -t <tag>' in your pipeline stage block to run the docker build command. (Make sure you have docker installed with correct permissions.
docker run: you can use sh 'docker run -d <image>' in your pipeline stage block to build the container.
Task 1:
Create a docker-integrated Jenkins declarative pipeline
Use the above-given syntax using sh inside the stage block
You will face errors in case of running a job twice, as the docker container will be already created, so for that do task 2
Step 1:- First we need to create a new item and need to give the project name "django-cicd-project-Declarative Pipeline" and choose Pipeline and click on ok

Step 2:- After clicking ok , Need to give the Description

Step 3:- Now need to go to Pipeline and give the below code
  pipeline {
      agent any
      stages {
          stage('Clone Code') {
              steps {
                  git url: 'https://github.com/Saikat55/react_django_demo_app.git' , branch: 'main'
              }
          }
          stage('Build') {
              steps {
                  sh 'docker build . -t rect-django-app'
              }
          }
          stage('Test') {
              steps {
                  echo "Testing"
              }
          }
          stage('Deploy') {
              steps {
                  sh "docker run -itd -p 8001:8001 rect-django-app:latest"
              }
          }
      }
  }

Step 4:- Now we need to click on Save and run the Build now

Step 5:- After running the Build Now we can see Stage View


Step 6:- Once the build is successful, you can go to the console output and check the output of the build.


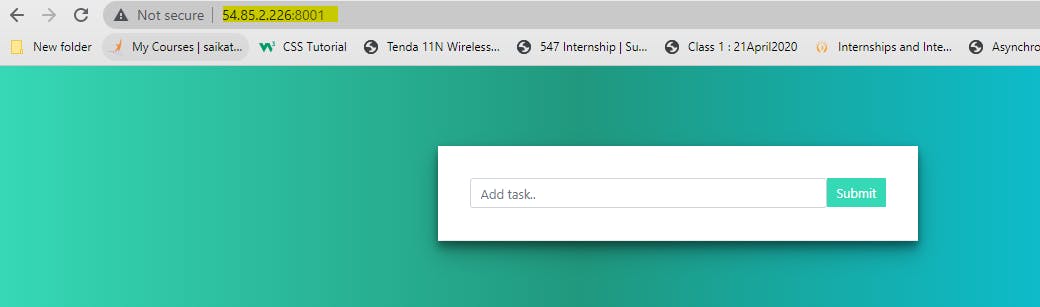
Step 7:- Now we need to verify whether we can browse the application or not by using Public IPv4 address:prot_number
Step 8:- We will face errors in case of running a job twice, as the docker container will be already created, so for that do task 2

Task 2:
Create a docker-integrated Jenkins declarative pipeline using the docker groovy syntax inside the stage block.
You won't face errors, you can Follow this documentation
Complete your previous projects using this Declarative pipeline approach
Step 1:- To solve the above error we can use a docker image to build the application and for that, we have to install Docker Pipeline & Docker Plugin in Jenkins.

Step 2:- Now we need to add a docker image in the Build stage.
  pipeline {
      agent any
      stages {
          stage('Clone Code') {
              steps {
                  git url: 'https://github.com/Saikat55/react_django_demo_app.git' , branch: 'main'
              }
          }
          stage('Build') {
              agent {
                  docker {
                      image 'saikat55mukherjee/react_django_app:latest'
                      reuseNode true
                  }
              }
              steps {
                 echo "Building app using Docker Image"
              }
          }
          stage('Test') {
              steps {
                  echo "Testing"
              }
          }
          stage('Deploy') {
              steps {
                  sh "docker-compose down"
                  sh "docker-compose up -d"
              }
          }
      }
  }

Step 3:- Now we need to click on Save and run the Build now

Step 4:-After running the Build Now we can see Stage View


Step 5:-Once the build is successful, you can go to the console output and check the output of the build.


Step 6:- Since this code, we are using the docker-compose command so we can run this command n times without deleting any existing container and it will be working without any issues
Thank you for reading!! I hope you find this article helpful!!
if any queries or corrections to be done to this blog please let me know.
Happy Learning!!
Saikat Mukherjee