CI/CD pipeline on AWS (Part - 3) CodeDeploy
#90 Days of DevOps Challenge - Day 52


What is CodeDeploy?
AWS CodeDeploy is a fully managed deployment service provided by Amazon Web Services (AWS). It automates the process of deploying applications to various compute services, such as Amazon EC2 instances, on-premises instances, AWS Fargate, and Lambda functions. CodeDeploy helps you release new features, updates, and bug fixes to your applications with minimal downtime.
Key aspects and features of AWS CodeDeploy:-
Flexible Deployment Strategies: CodeDeploy supports various deployment strategies, including rolling deployments, blue/green deployments, and canary deployments. These strategies enable you to control the pace and impact of application updates, allowing for smooth and controlled deployments.
Seamless Integration: CodeDeploy integrates with other AWS services, such as AWS CodeCommit, AWS CodePipeline, and AWS Elastic Beanstalk, enabling continuous delivery pipelines and automated deployments. It can be easily incorporated into your existing CI/CD workflows.
Platform-Agnostic: CodeDeploy is not limited to specific programming languages or frameworks. It supports applications developed in various languages and platforms, including Java, .NET, Python, Node.js, Ruby, and more. It provides flexibility in deploying a wide range of applications.
Customizable Deployment Configuration: CodeDeploy allows you to define and customize deployment configurations based on your specific requirements. You can specify deployment settings, such as deployment type, deployment groups, deployment targets, and other parameters.
Auto Scaling Integration: CodeDeploy integrates with Auto Scaling groups, allowing you to automatically scale your application fleet based on demand. It enables you to seamlessly manage the deployment of applications across multiple instances, ensuring high availability and scalability.
Deployment Health Monitoring: CodeDeploy provides detailed monitoring and visibility into the deployment process. You can track the status of deployments, monitor deployment logs, and view metrics to assess the health and success of deployments.
Rollback and Roll-Forward: In case of issues or failures during deployments, CodeDeploy supports rollback and roll-forward options. You can easily revert to a previous deployment state or proceed with a fix or new deployment, minimizing downtime and ensuring application stability.
By using AWS CodeDeploy, you can automate and simplify the process of deploying applications, reduce deployment errors, and achieve faster release cycles. It provides flexibility in deployment strategies, seamless integration with other AWS services, and monitoring capabilities for efficient and reliable application deployments.
Appspec file for CodeDeploy
The appspec.yml file is used in AWS CodeDeploy to define the deployment specifications and instructions for the application deployment process. It provides a structure to specify the source files, target locations, lifecycle hooks, and other settings required for the deployment.
Key elements of an AppSpec file:-
Here's an example of an appspec.yml file:-
version: 0.0
os: linux

resources:
  - TargetService:
      Type: AWS::EC2::Instance
      Properties:
        Name: my-app-instance

hooks:
  BeforeInstall:
    - location: scripts/install_dependencies.sh
      timeout: 300
      runas: root

  AfterInstall:
    - location: scripts/configure_app.sh
      timeout: 300
      runas: root

  ApplicationStart:
    - location: scripts/start_app.sh
      timeout: 300
      runas: root

  ValidateService:
    - location: scripts/validate_service.sh
      timeout: 60
      runas: root
In this example, the appspec.yml file consists of the following sections:
version: Specifies the version of theappspec.ymlfile format. The current version is 0.0.os: Specifies the target operating system for the deployment. In this example, it is set tolinux.resources: Defines the deployment target resources. In this case, it specifies an AWS EC2 instance with the namemy-app-instanceas the deployment target.hooks: Contains the lifecycle hooks, which are different phases of the deployment process. Each hook has a specific purpose and can execute scripts or commands. The commonly used hooks are:BeforeInstall: Runs scripts or commands before the installation of the new version of the application.AfterInstall: Executes scripts or commands after the installation of the new version. It is typically used for configuration tasks.ApplicationStart: Runs scripts or commands to start the application or perform any necessary startup tasks.ValidateService: Executes scripts or commands to validate that the application is running correctly after deployment.
Each hook section specifies the script location, timeout duration (in seconds), and the user or role to run the script (runas).
You can customize the appspec.yml file based on your specific deployment requirements, such as adding additional hooks or scripts for database migrations, cache clearing, or any other necessary tasks during the deployment process.
Task-01 :
Read about Appspec.yaml file for CodeDeploy.
Deploy index.html file on EC2 machine using nginx
you have to set up a CodeDeploy agent in order to deploy code on EC2
Step 1:- We need to follow code commit and code build steps i have clreay mentioned previous blogs
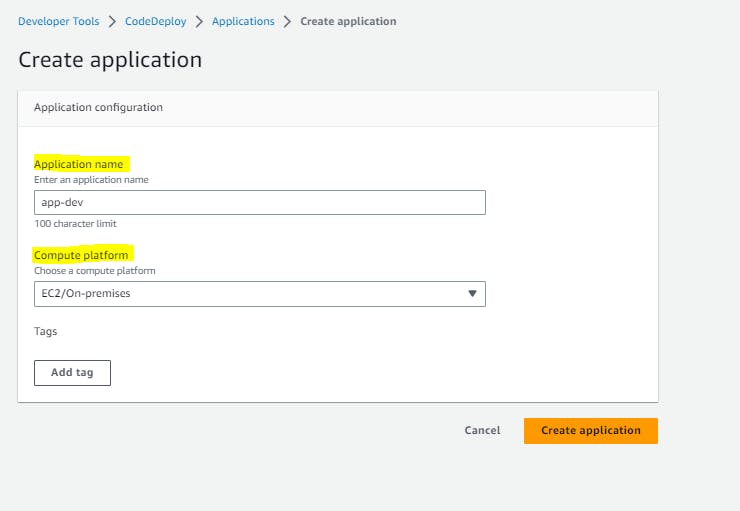
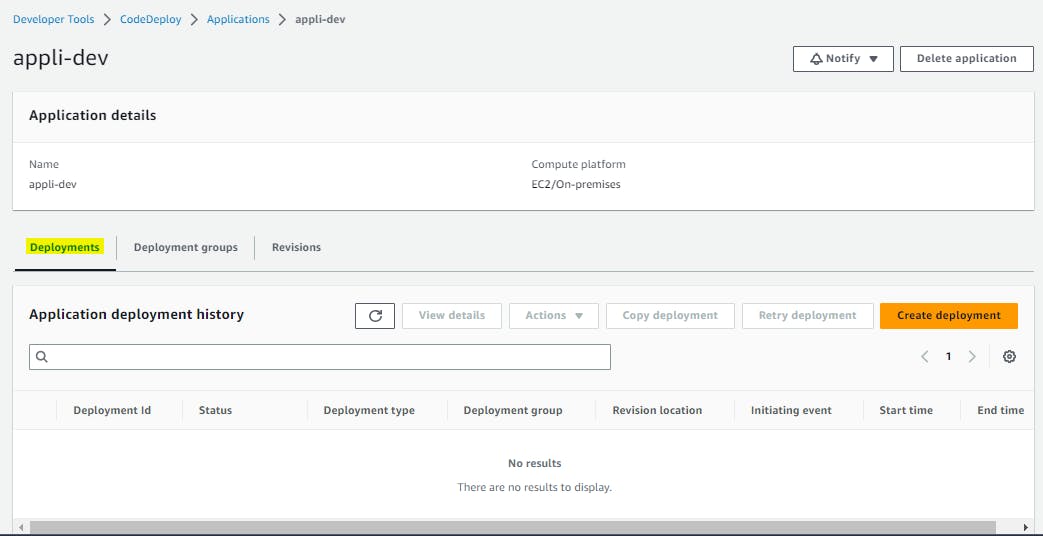
Step 2:- We need to create CodeDeploy application

We need to give name and select Compute platfrom and click on Create application

Create a new service role for enabling communication between code deploy and other AWS services.
Go to IAM service and create 'code-deploy-service-role' with permissions.
"AmazoneEC2FullAccess", "AmazoneS3FullAccess", "AWSCodeDeployRole", "AmazoneEC2RoleforAWSCodeDeploy", "AWSCodeDeployFullAccess", "AmazonEC2RoleforAWSCodeDeployLimited".


Need to change trust relationship
{
    "Version": "2012-10-17",
    "Statement": [
        {
            "Effect": "Allow",
            "Principal": {
                "Service": "codedeploy.amazonaws.com"
            },
            "Action": "sts:AssumeRole"
        }
    ]
}
Step 3:- Now we need to create a EC2 Instance

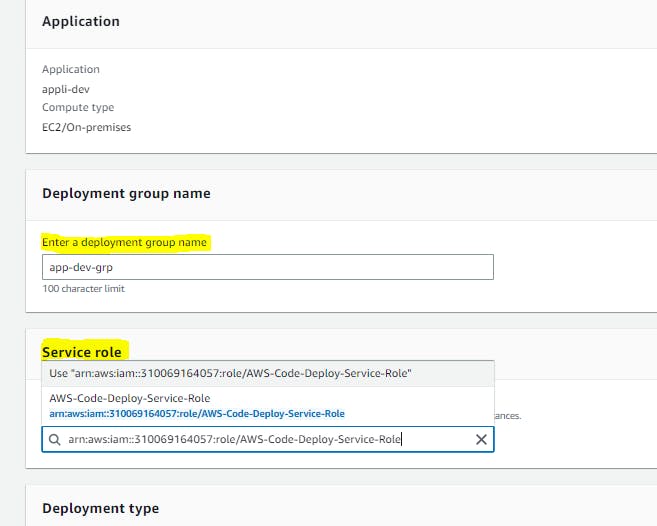
Step 4:- Need to create a deployment group

need to select Deployment group name and service role
select EC2 instance name (key and value)

Click on 'Create deployment group'
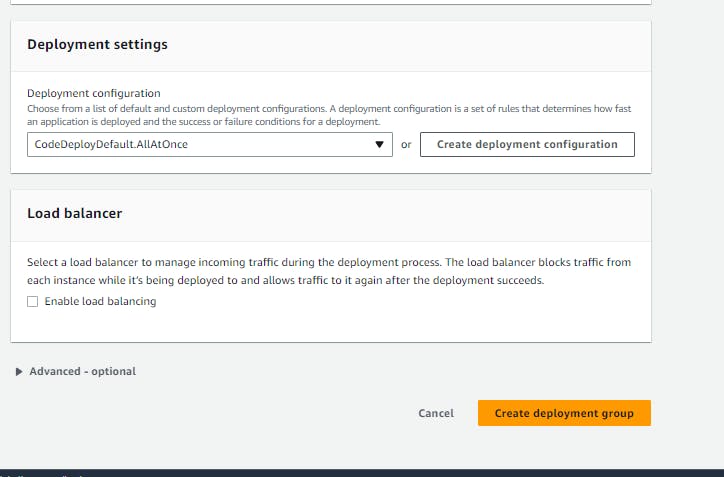
Deployment group is created

Step 5:- We need to Setup a CodeDeploy agent to deploy code on EC2
You need to install the CodeDeploy agent on your Ubuntu EC2 instance. The CodeDeploy agent is a software package that runs on your instance and interacts with CodeDeploy to deploy your application.
You can install the CodeDeploy agent by running the following script on your EC2 instance:
#!/bin/bash
# This installs the CodeDeploy agent and its prerequisites on Ubuntu 22.04.
sudo apt-get update
sudo apt-get install ruby-full ruby-webrick wget -y
cd /tmp
wget https://aws-codedeploy-us-east-1.s3.us-east-1.amazonaws.com/releases/codedeploy-agent_1.3.2-1902_all.deb
mkdir codedeploy-agent_1.3.2-1902_ubuntu22
dpkg-deb -R codedeploy-agent_1.3.2-1902_all.deb codedeploy-agent_1.3.2-1902_ubuntu22
sed 's/Depends:.*/Depends:ruby3.0/' -i ./codedeploy-agent_1.3.2-1902_ubuntu22/DEBIAN/control
dpkg-deb -b codedeploy-agent_1.3.2-1902_ubuntu22/
sudo dpkg -i codedeploy-agent_1.3.2-1902_ubuntu22.deb
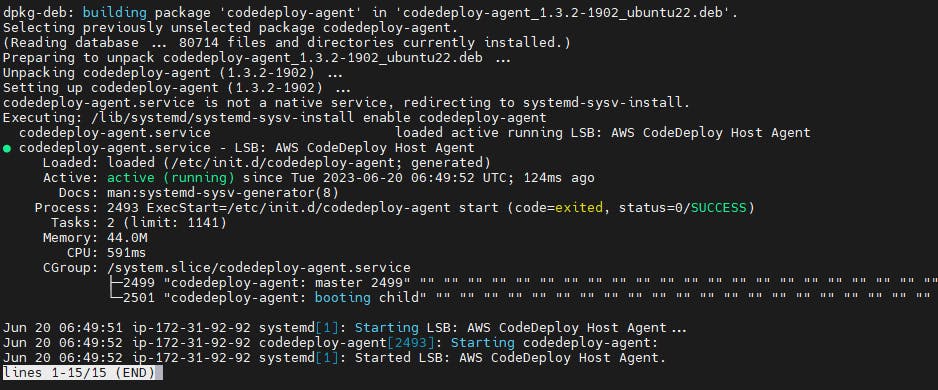
systemctl list-units --type=service | grep codedeploy
sudo service codedeploy-agent status

After running the commands we can verify the status that Code Agent is running.
Task-02 :
Add appspec.yaml file to CodeCommit Repository and complete the deployment process.
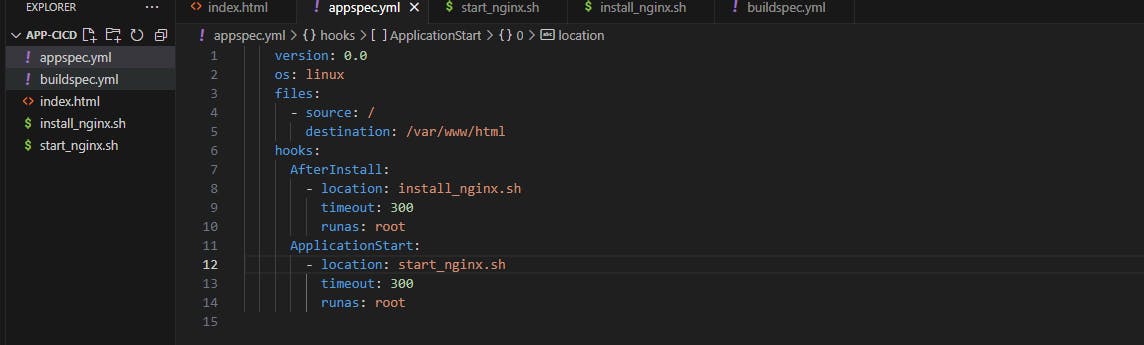
Step 1:- You need to create an appspec.yaml file that tells CodeDeploy what to do with your application.
Here is an appspec.yaml file that deploys the index.html file on nginx. also, create 2 scripts for installing nginx and starting nginx.
vi appspec.yml

    version: 0.0
    os: linux
    files:
      - source: /
        destination: /var/www/html
    hooks:
      AfterInstall:
        - location: install_nginx.sh
          timeout: 300
          runas: root
      ApplicationStart:
        - location: start_nginx.sh
          timeout: 300
          runas: root
vi start_nginx.sh

#!/bin/bash

sudo service nginx start
vi install_nginx.sh

#!/bin/bash

sudo apt-get update
sudo apt-get install nginx -y
We need to add the files and commit it and push to CodeCommit repo

We add those files in to git

we commit those files and push into repo
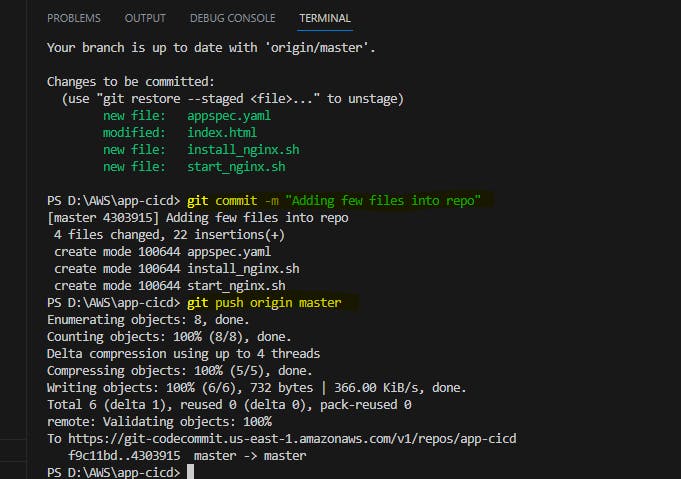
Now we can see all the files are there

We need to Add changes to the buildspec.yml file
  version: 0.2

  phases:
    install:
      commands:
        - echo Installing NGINX
        - sudo apt-get update
        - sudo apt-get install nginx -y
    build:
      commands:
        - echo Build started on 'date'
        - cp index.html /var/www/html/
    post_build:
      commands:
        - echo Configuring NGINX

  artifacts:
      files:
        - '**/*'

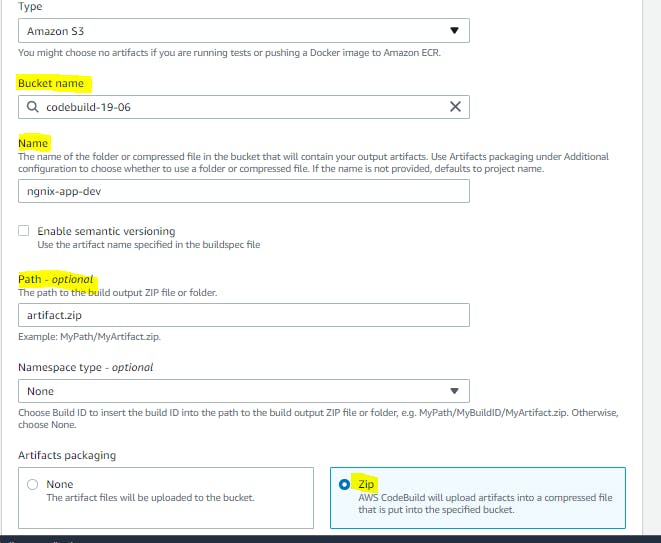
We will be using same S3 bucket

We need all the below details click on update artifacts
Now we can start to click on start build
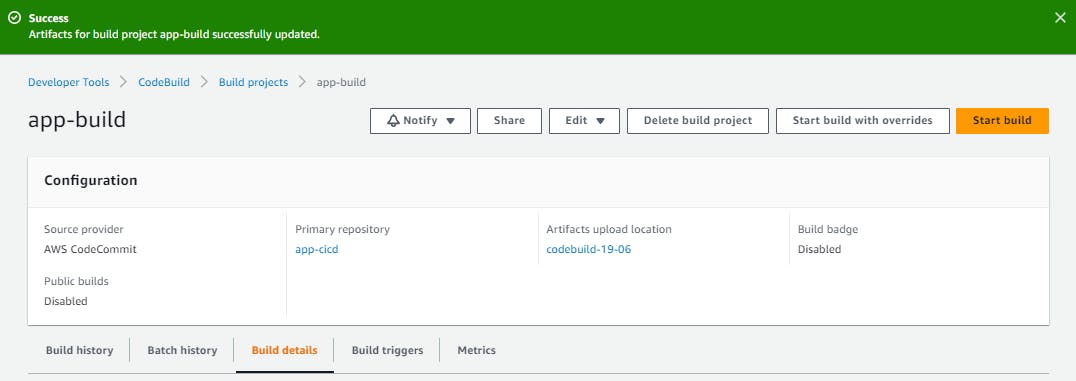
once the build succeeds it will look like below

After building completion, go to the S3 bucket and copy the S3 URL of the nginx zip file
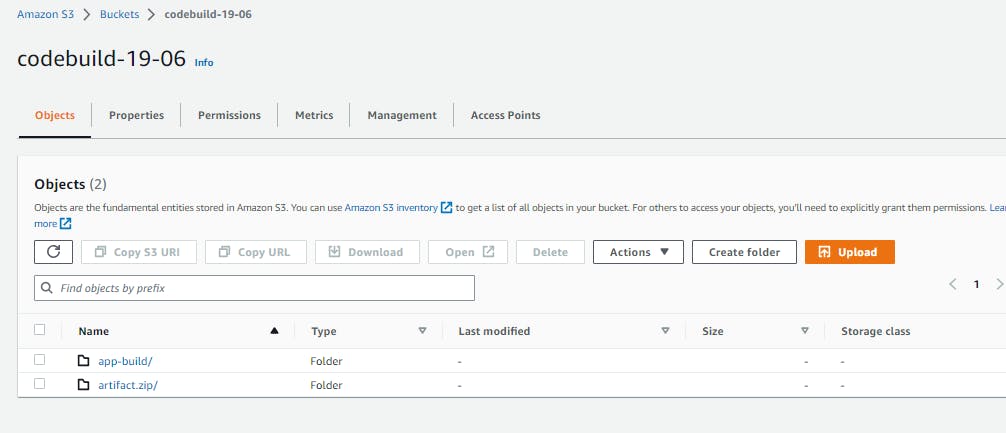
We need to copy the S3 URL

We need to create deployment
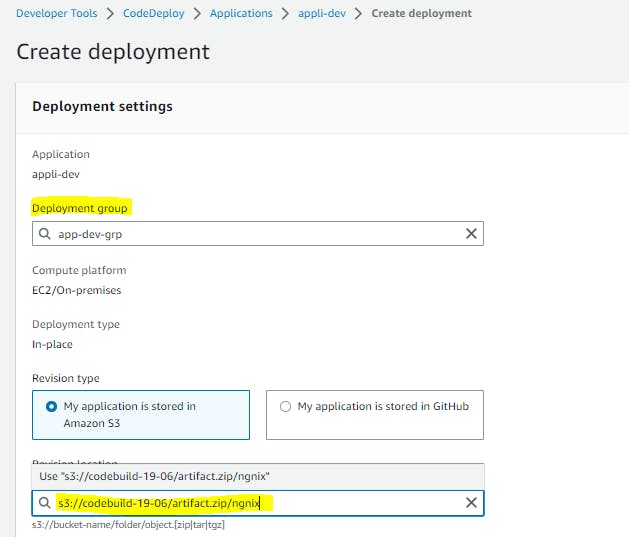
After filling the details need to create deployment
here we can see that deployment is created. but events are in a pending state.
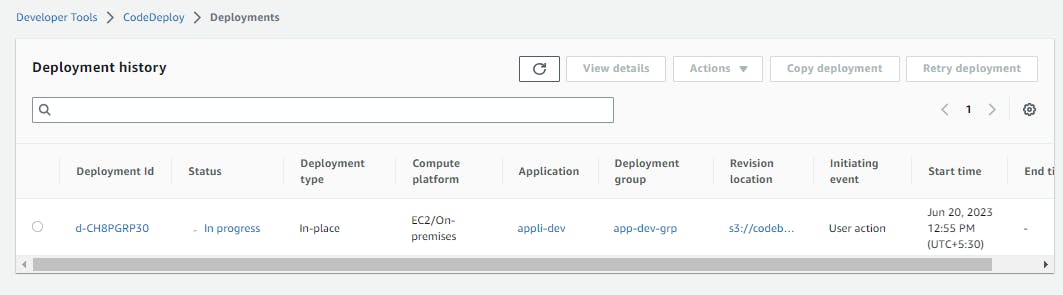
the reason is EC2 doesn't have any role policy to retrieve the data from S3 to CodeDeploy.
To create a new service role for enabling communication between EC2 and S3, code deploy.
Go to IAM service and create 'EC2-S3-CodeDeploy' with permissions.
"AmazoneEC2FullAccess", "AmazoneS3FullAccess", "AWSCodeDeployFullAccess".

Now we need to attach the role in EC2 machine

After updating the IAM role, restart the code-deploy agent.
  sudo service codedeploy-agent restart
  sudo service codedeploy-agent status

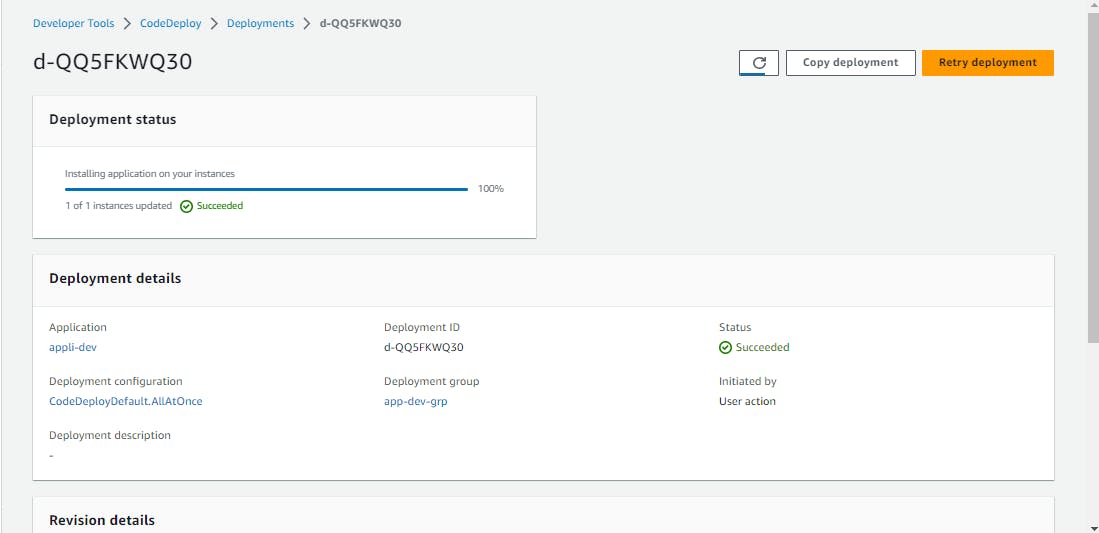
Now we can see the depployment completed successfully

Now if we search through EC2 instance public ip address we acn see the expected results

Thank you for reading!! I hope you find this article helpful!!
if any queries or corrections to be done to this blog please let me know.
Happy Learning!!
Saikat Mukherjee